Add or change a patient's photo
Upload or take a patient's photograph, and add a signature or fingerprint image, on an existing patient record.
A patient photo helps staff confirm they have the right person at every counter. You can add it at registration or at any time afterwards from the patient's record.
note
Who can do this: front desk and registration staff
Where: Patients › Views › Patient List › ⋮ › Edit › Biometrics
Before you start
- The Biometrics tab shows only for patients registered with a registration type other than Quick Registration — see Register a patient with full details.
- To take a photo with Capture, the computer needs a camera and the browser must be allowed to use it.
Steps
- Find the patient, click ⋮ at the end of the row and choose Edit.
- Open the Biometrics tab. To replace an old photo, click Clear under Photograph.
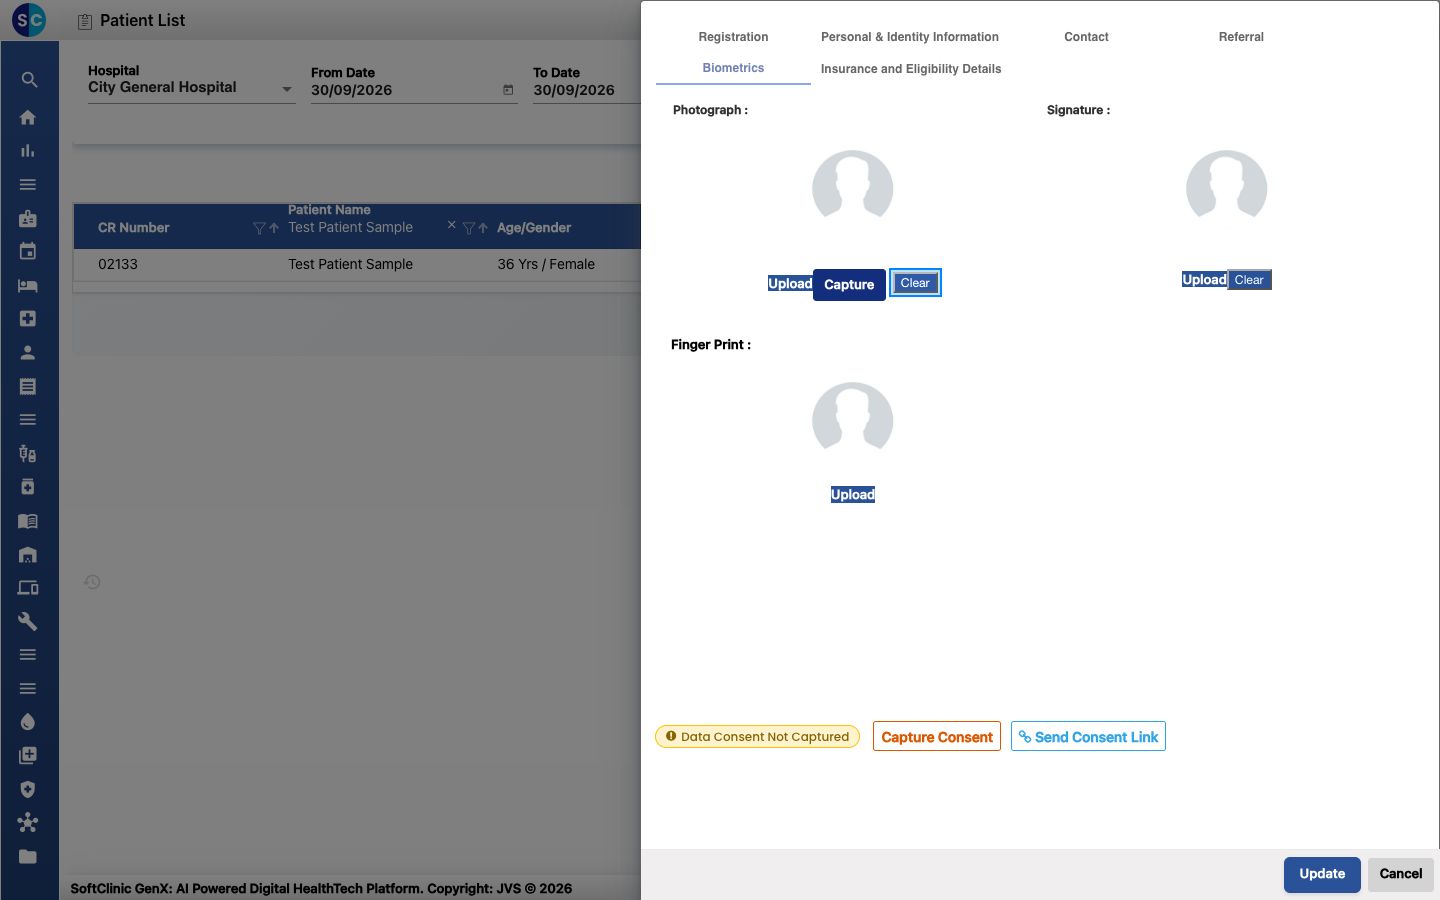
- Click Upload and choose the picture, or click Capture to take one with the camera. The photo appears in place of the outline.
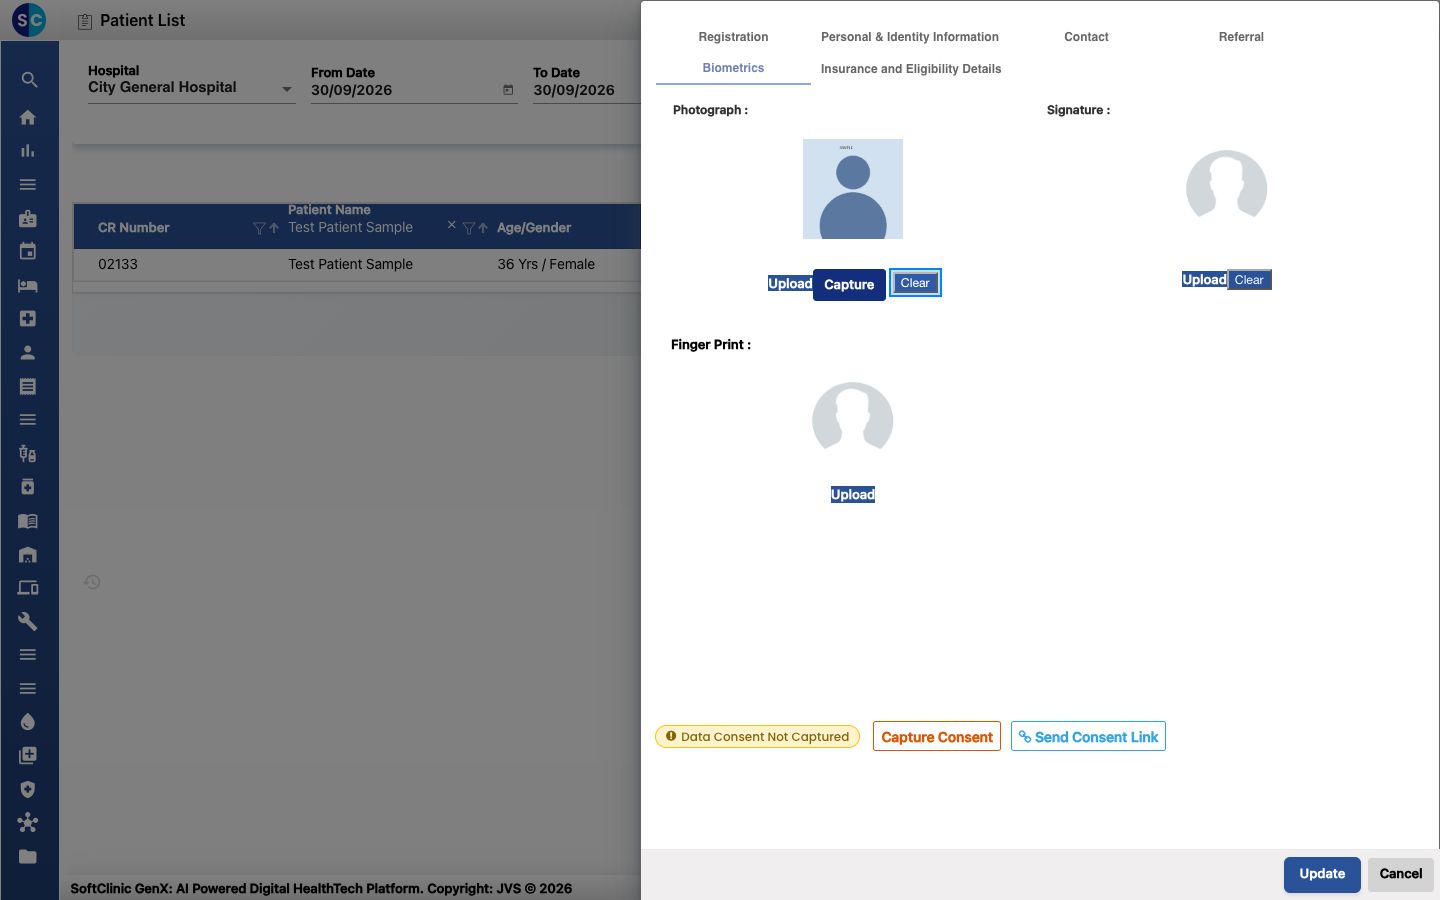
- Use Upload under Signature and Finger Print in the same way if you keep them.
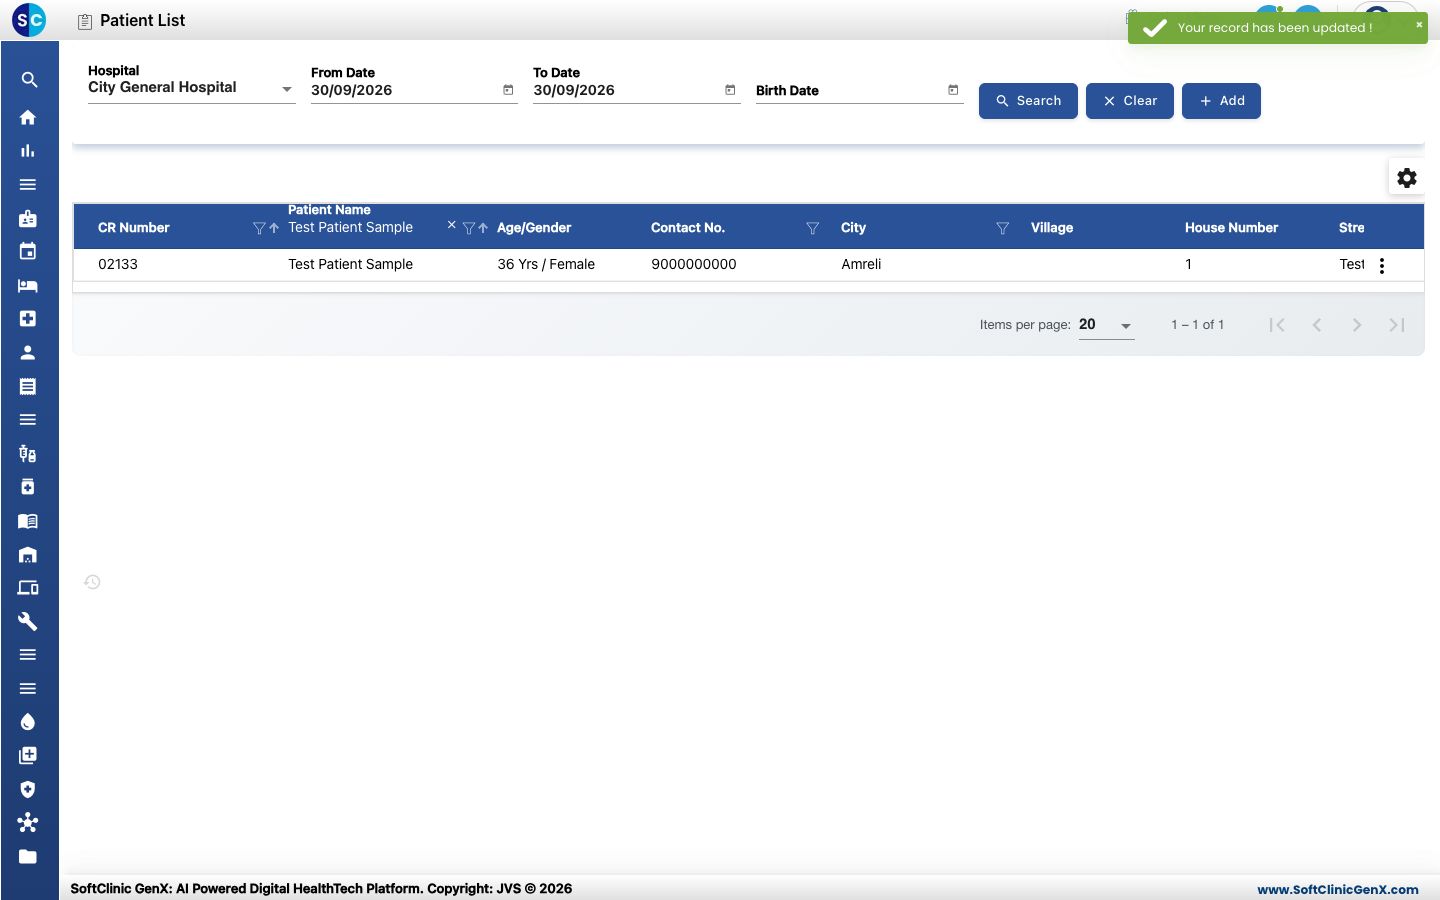
- Click Update. If a warning lists patients with the same mobile number, click Ok to go on. You see Your record has been updated!
If something goes wrong
| What you see | What it means | What to do |
|---|---|---|
| There is no Biometrics tab | The patient was registered with Quick Registration. | Use the full registration form for patients who need a photo. |
| Capture shows no picture | The browser cannot reach the camera. | Allow camera access in the browser, or take the photo separately and use Upload. |