Set up Package Master
Who does this: hospital administrator or billing manager Where: Billing › Masters › Package Master Set up before: Service, Package Type Master, Class Master
A package bills a group of services at one price, for example a Basic Health Checkup or a surgical package. Each package is based on a service whose Service Type is Package, so create that service in the Service master first. The package then sets the price, the bed classes it is sold in, and which services it covers.
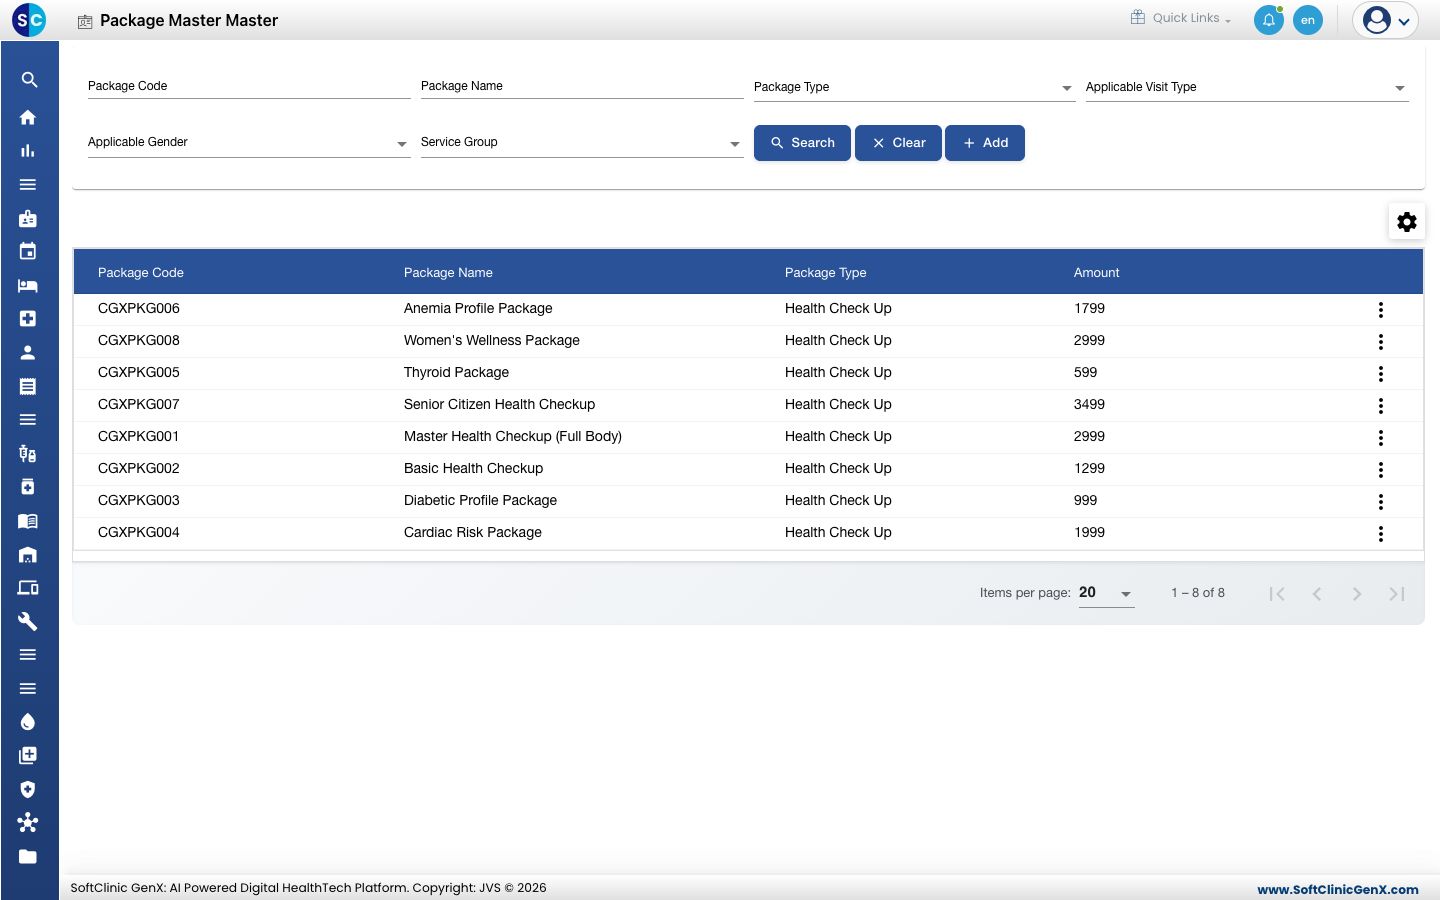
Add a package
-
Go to Billing › Masters › Package Master.
-
Click Add. The package form opens on the Package Details tab.
-
Fill in the fields:
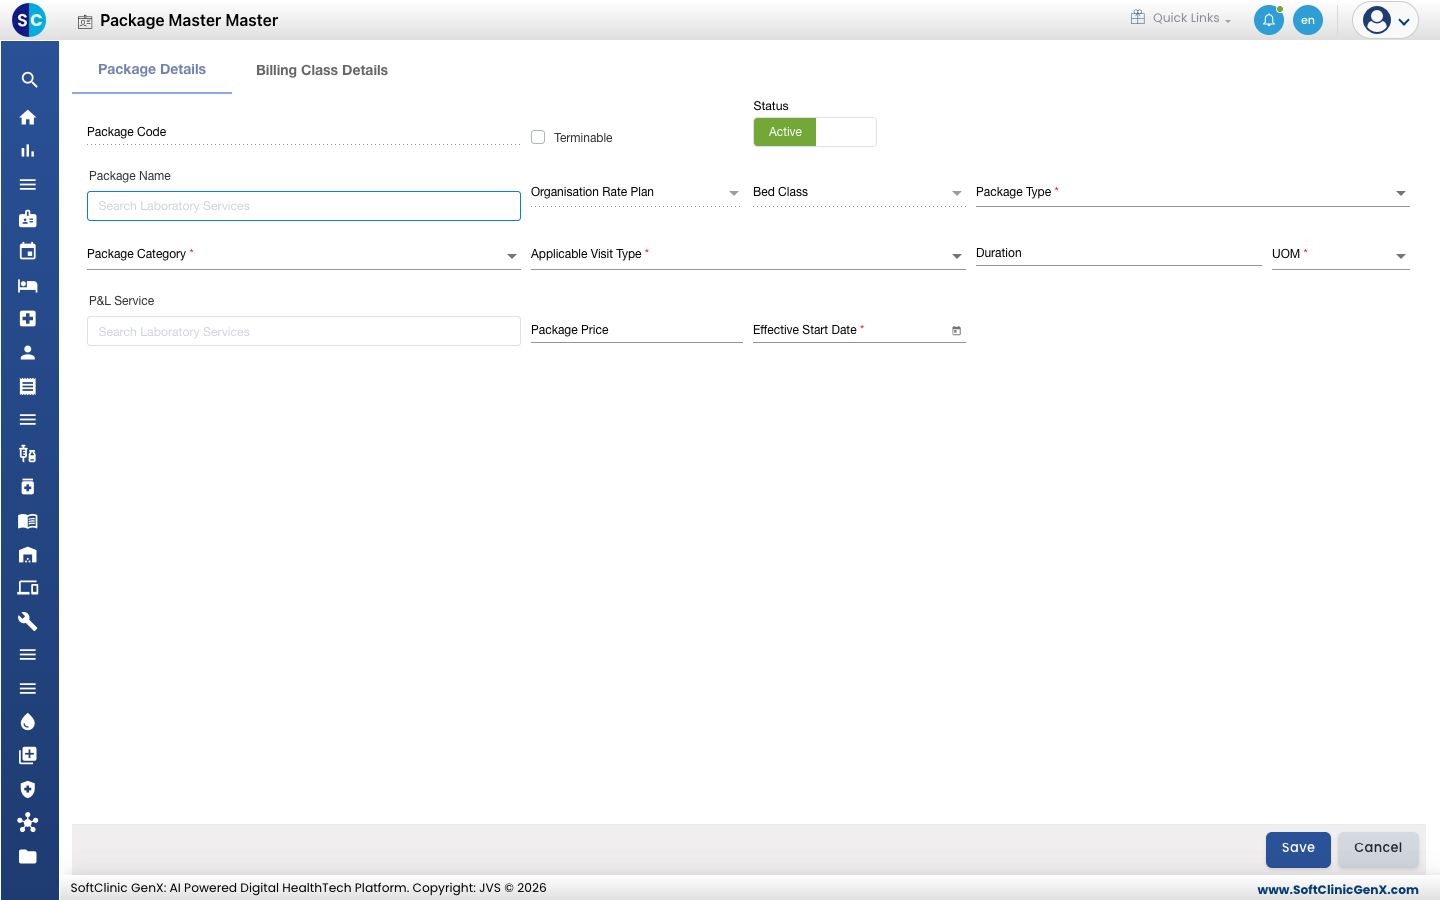
Field What to enter Required Package Code Filled in automatically when you save. — Terminable Tick if the package can be ended before it is complete. No Status Leave on Active. — Package Name Start typing the name of the package service and pick it from the list. Yes Organisation Rate Plan The rate plan this package price belongs to, if it is for one payer only. No Bed Class The bed class this package price is for, if it applies to one class only. No Package Type For example Health Check Up or Surgical. Yes Package Category Fixed, Variable or PER DAY. Yes Applicable Visit Type Out Patient, In Patient, Emergency, Both (Op & Ip) or All. Yes Duration, UOM How long the package lasts, for example 1 Day. UOM can be Day, Week, Month or Year. UOM: Yes P&L Service The service the package income is reported under. Pick it from the list. Yes Package Price The price charged for the package. No Effective Start Date The first day the package can be sold. Yes -
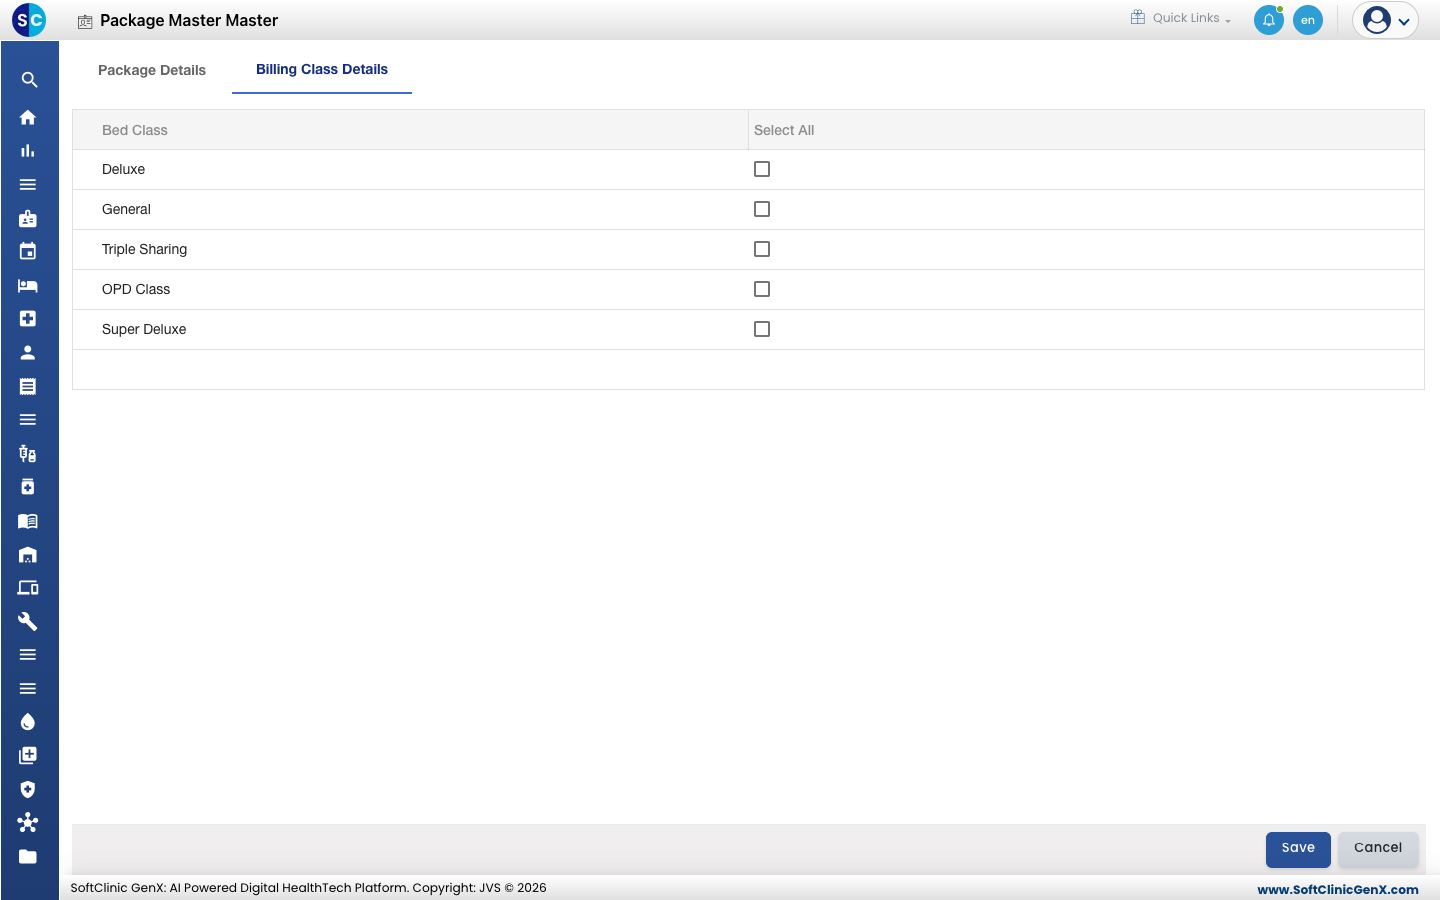
Open the Billing Class Details tab and tick the bed classes the package can be sold in. Select All ticks them all.
-
Click Save. The package appears in the list.
Choose what the package includes
The Inclusion(s) and Exclusion(s) Details tab appears once the package is saved.
- In the list, click the ⋮ button on the package and choose Edit.
- Open Inclusion(s) and Exclusion(s) Details.
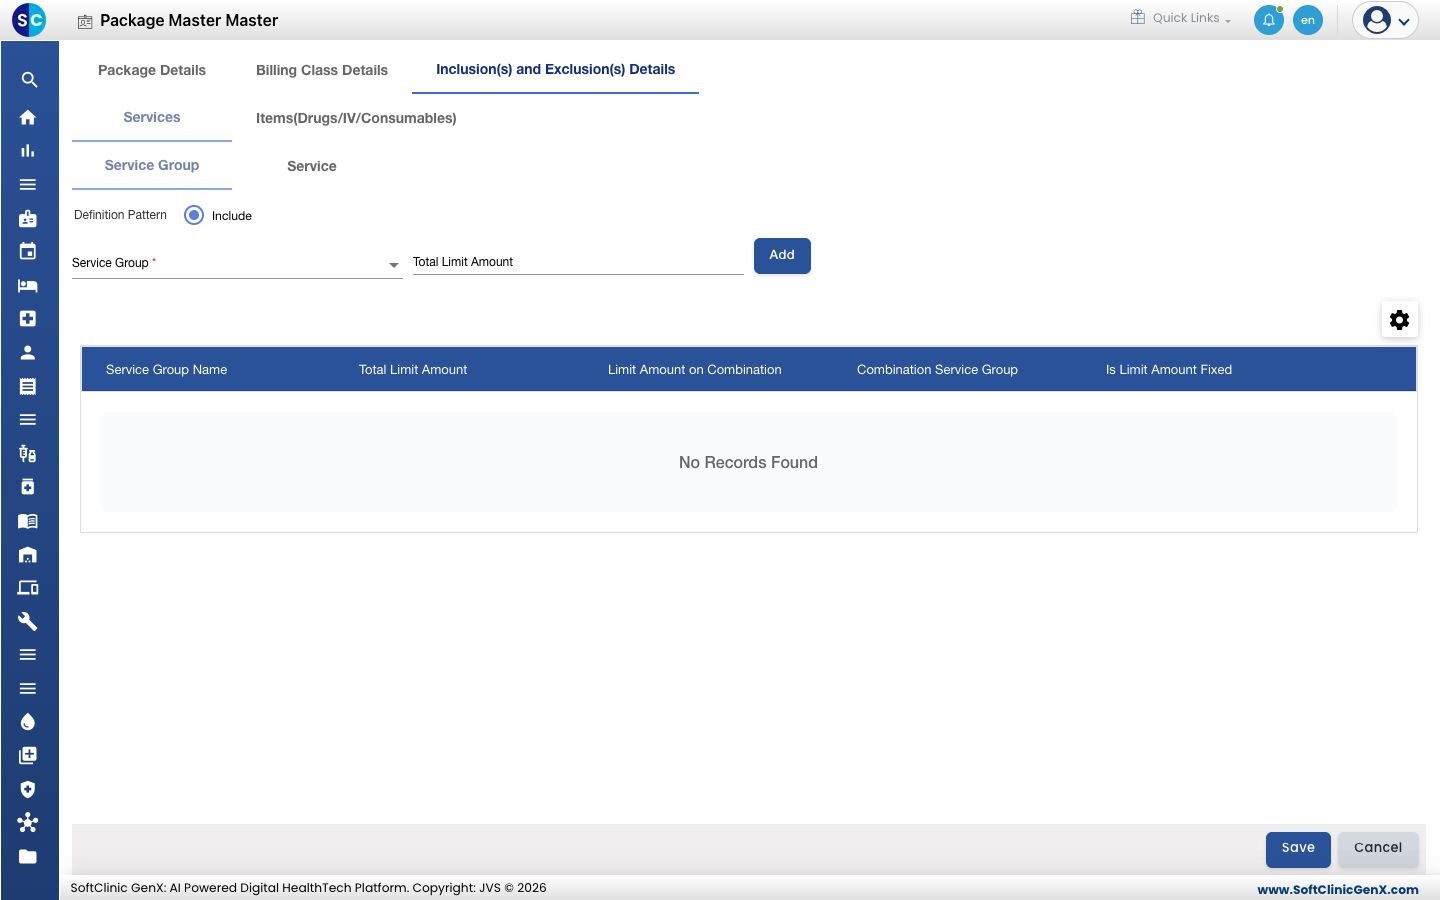
- On the Services tab, include whole service groups on the Service Group sub-tab, or single services on the Service sub-tab. Choose the Service Group, enter a Total Limit Amount if the package covers only up to that amount, and click Add.
- On the Items(Drugs/IV/Consumables) tab, add the drugs and consumables the package covers in the same way.
- Click Save.
Change or delete a package
- In the list, click the ⋮ button at the end of the row and choose Edit or Delete.
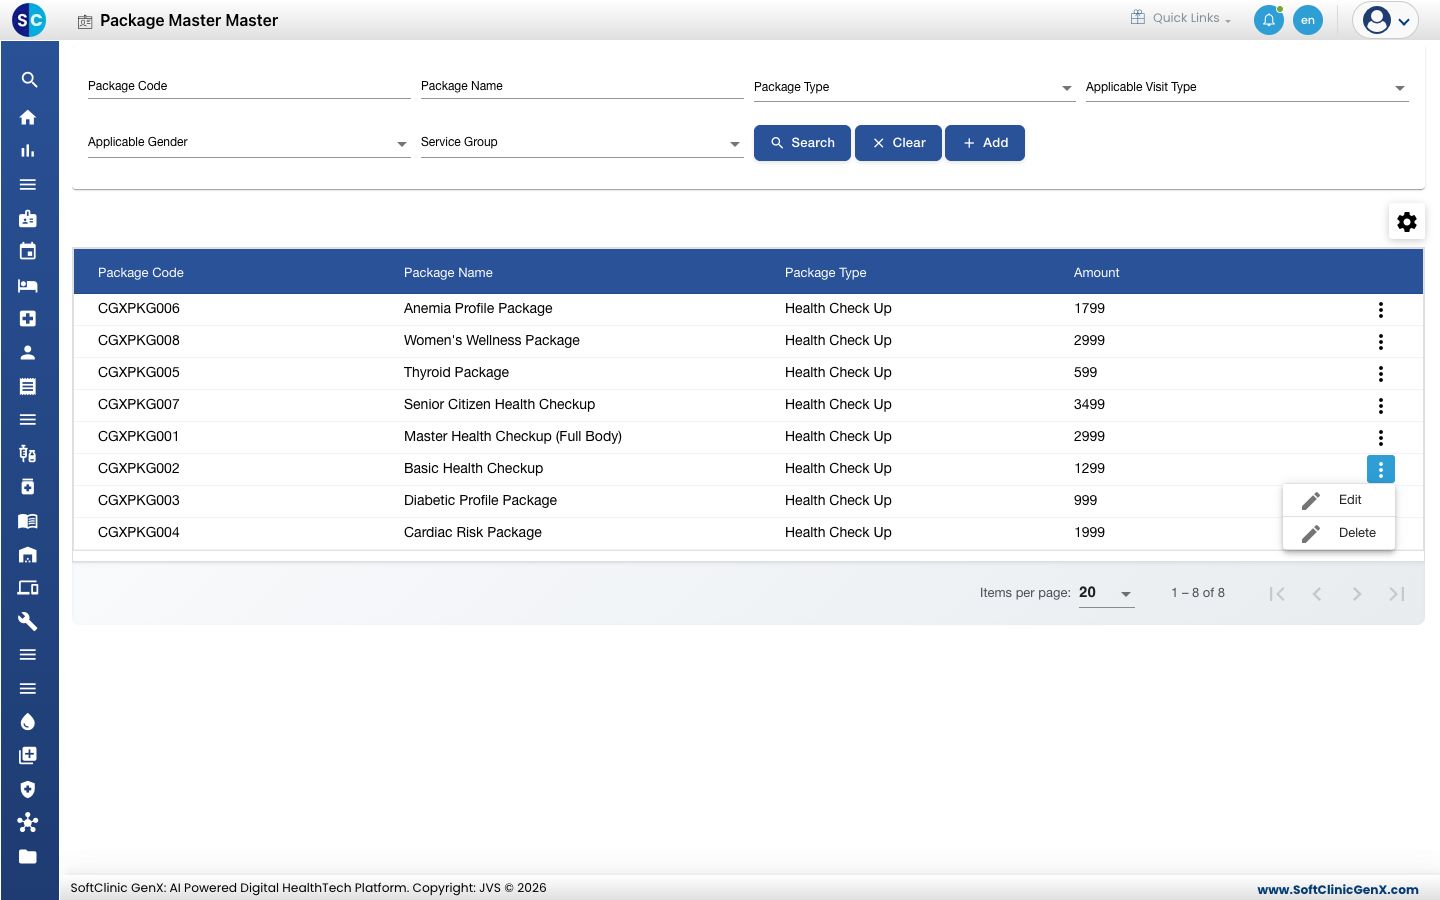
- After Edit, change the fields you need. To stop selling the package, switch Status to Inactive, then click Save.
Good to know
- If a package service does not appear under Package Name, check in the Service master that its Service Type is Package and that it is active.
- Use the filters above the list (Package Code, Package Name, Package Type, Applicable Visit Type, Applicable Gender, Service Group) and click Search to find a package. Clear resets them.
- Click Cancel to leave the form without saving.
Related
- Next: Set up Doctor Share or Rewards
- Previous: Set up Package Type Master
- Billing FAQs