Plan the duty roster
Assign shifts to staff for a week, save a draft and publish the week.
The Duty Roster is a weekly grid with one row per staff member and one column per day. You fill each cell with a shift, then publish the week so staff can see it.
note
Who can do this: HR staff or a department head · Where: Human Resource › Employee Masters › Duty Roster
Before you start
- Create the shifts you use. With no shifts, the roster asks you to add them first.
Fill the roster
- Open Human Resource › Employee Masters › Duty Roster. The current week opens.
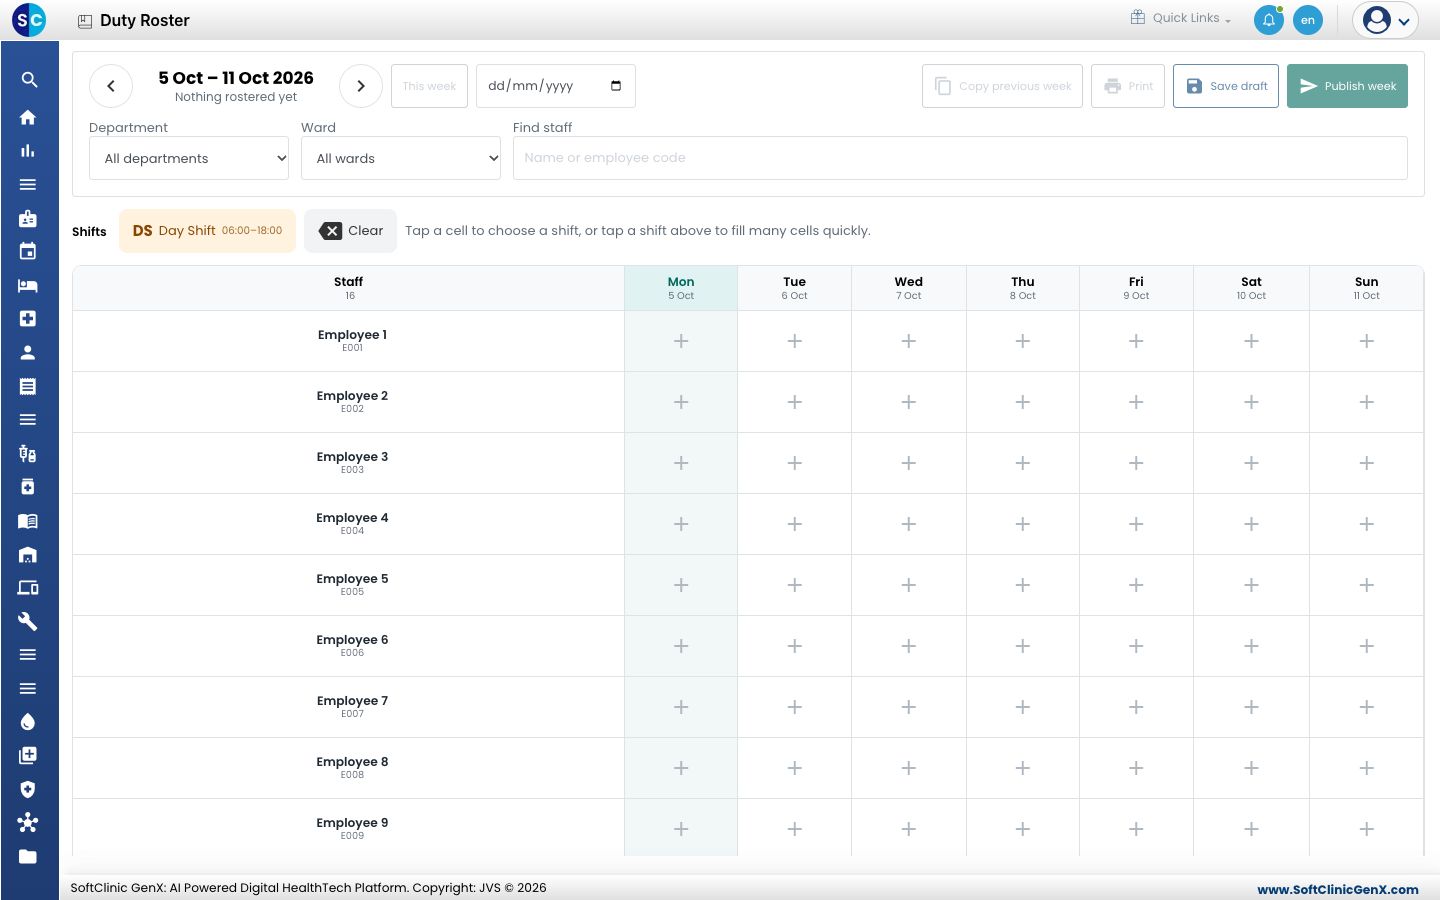
- Use the arrows beside the dates to change week, or click This week to return. To narrow the staff shown, choose a Department or Ward, or type a name or employee code in Find staff.
- Click a cell to give one person one shift. A panel opens.
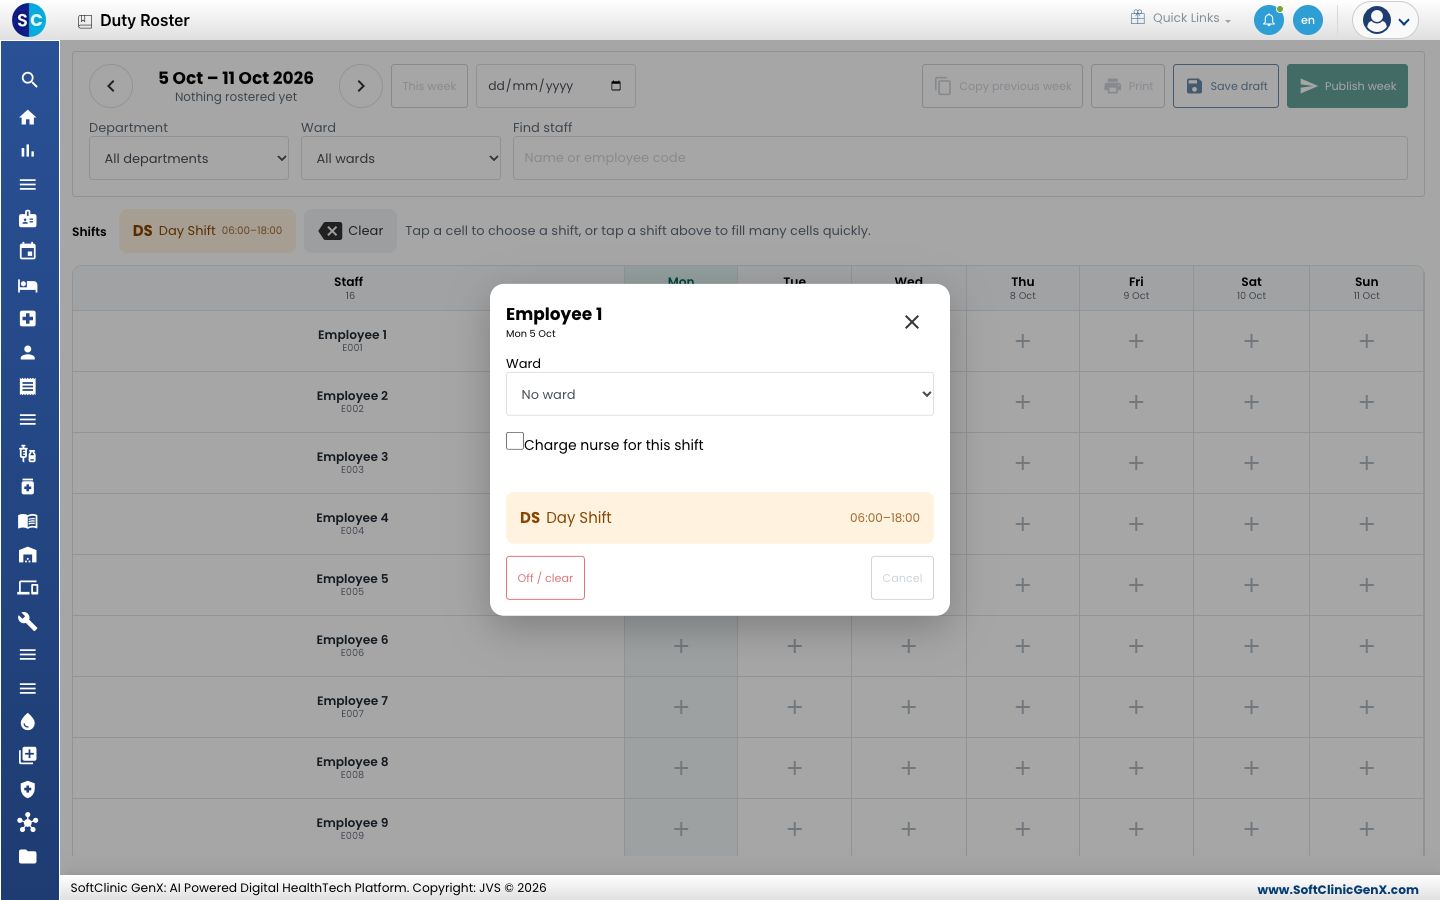
- In the panel, optionally choose a Ward and tick Charge nurse for this shift, then click the shift. To empty the cell, click Off / clear.
- To fill many cells fast, click a shift under Shifts, then click each cell to fill. Click Done when finished. Click Clear and then cells to empty them.
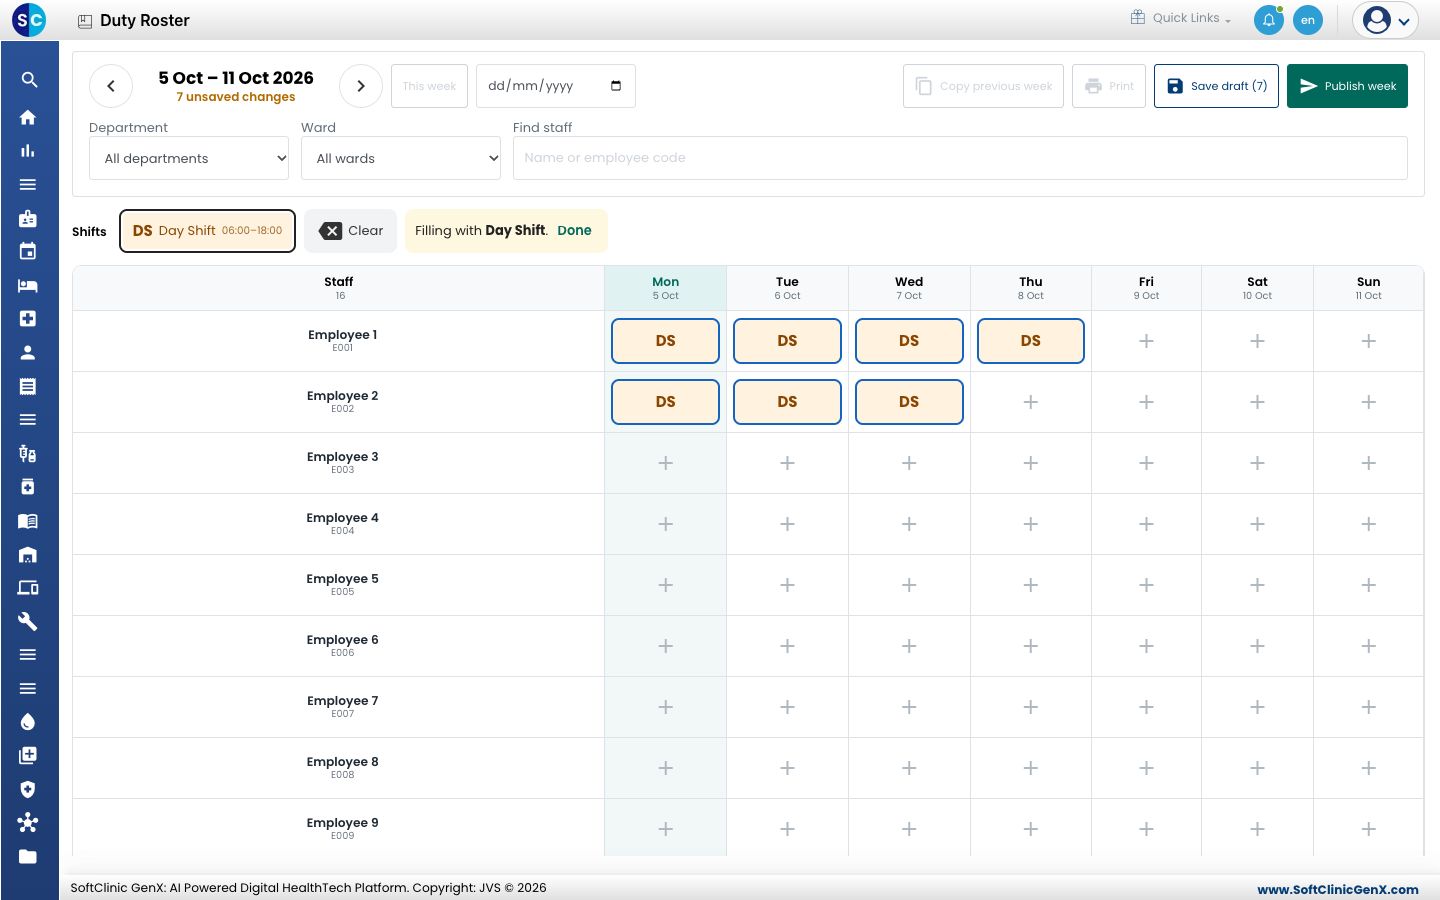
- Click Save draft. The week is kept but staff cannot see it yet.
- Click Publish week when the roster is final. Staff can now see it.
Good to know
- Copy previous week fills this week with last week's pattern, then you adjust it.
- Print prints the roster.
- A cell marked On leave has approved leave and cannot be rostered.
- Cells with unsaved changes are marked until you click Save draft.
Troubleshooting
| What you see | What it means | What to do |
|---|---|---|
| No shifts are set up yet. Add shifts in HR › Shift Master, then come back. | No active shift exists. | Set up a shift, then reopen the roster. |
| Nothing rostered yet | The week has no shifts saved. | Fill the cells and save. |
Related
- Set up Shift: create the shifts you assign
- Human Resource FAQs
Was this helpful?