Set up Kit Master
Who does this: store manager or hospital administrator Where: Inventory Management › Masters › Kit Master Set up before: Item
A kit is a named set of items with fixed quantities, for example an OT kit with an IV set, a suction tube, sutures and dressings. When staff record consumption, raise a request or transfer stock, they can add the kit instead of each item. The kit is added as its separate items with the right quantities, and the stock of each item is checked in the chosen store.
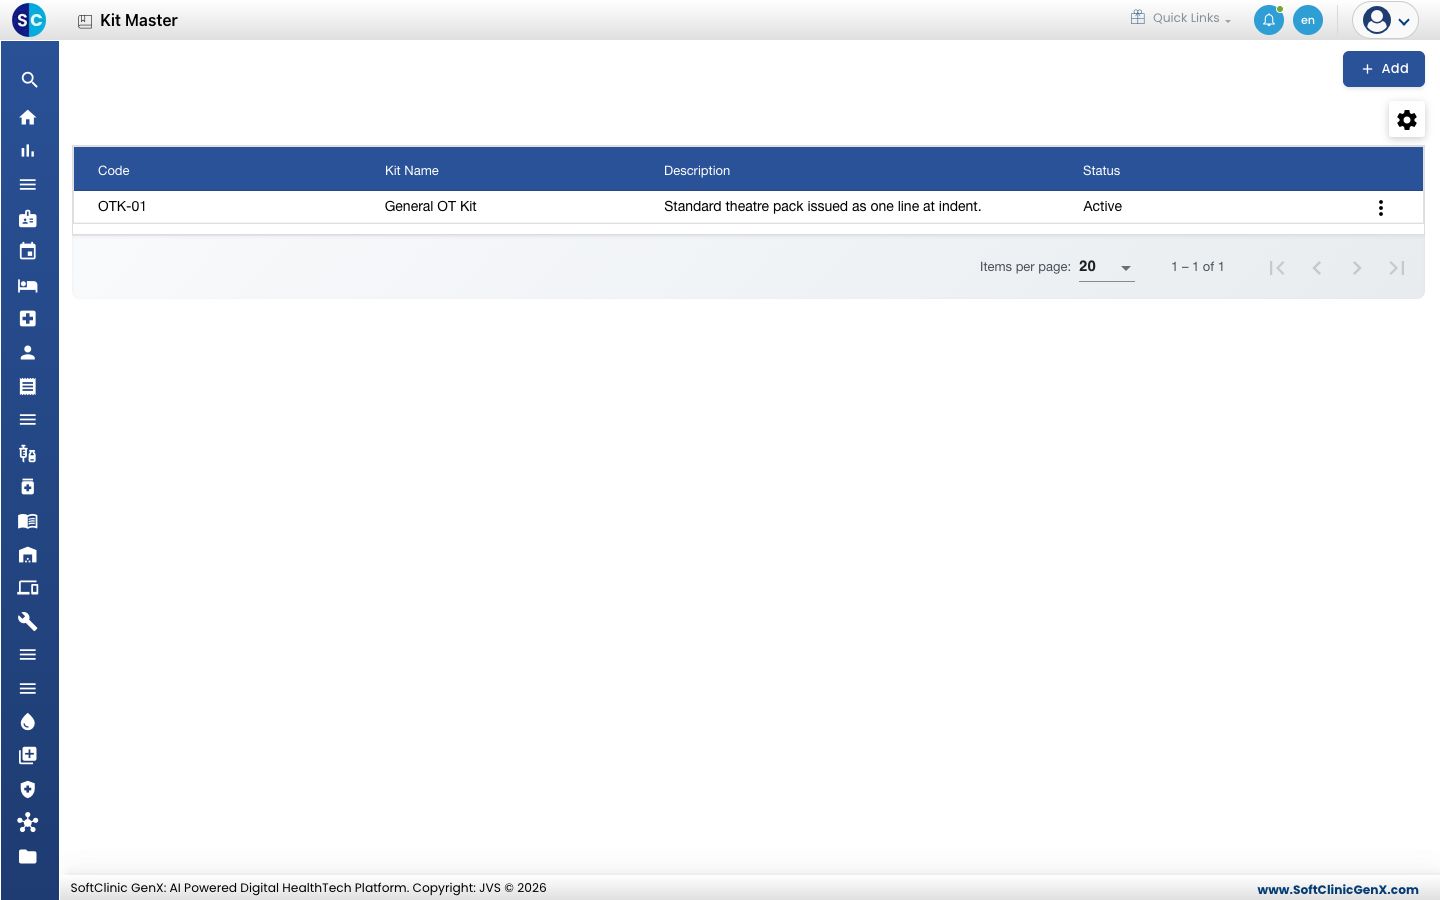
Add a kit
-
Go to Inventory Management › Masters › Kit Master.
-
Click Add. The Kit Master panel opens.
-
Fill in the kit details:
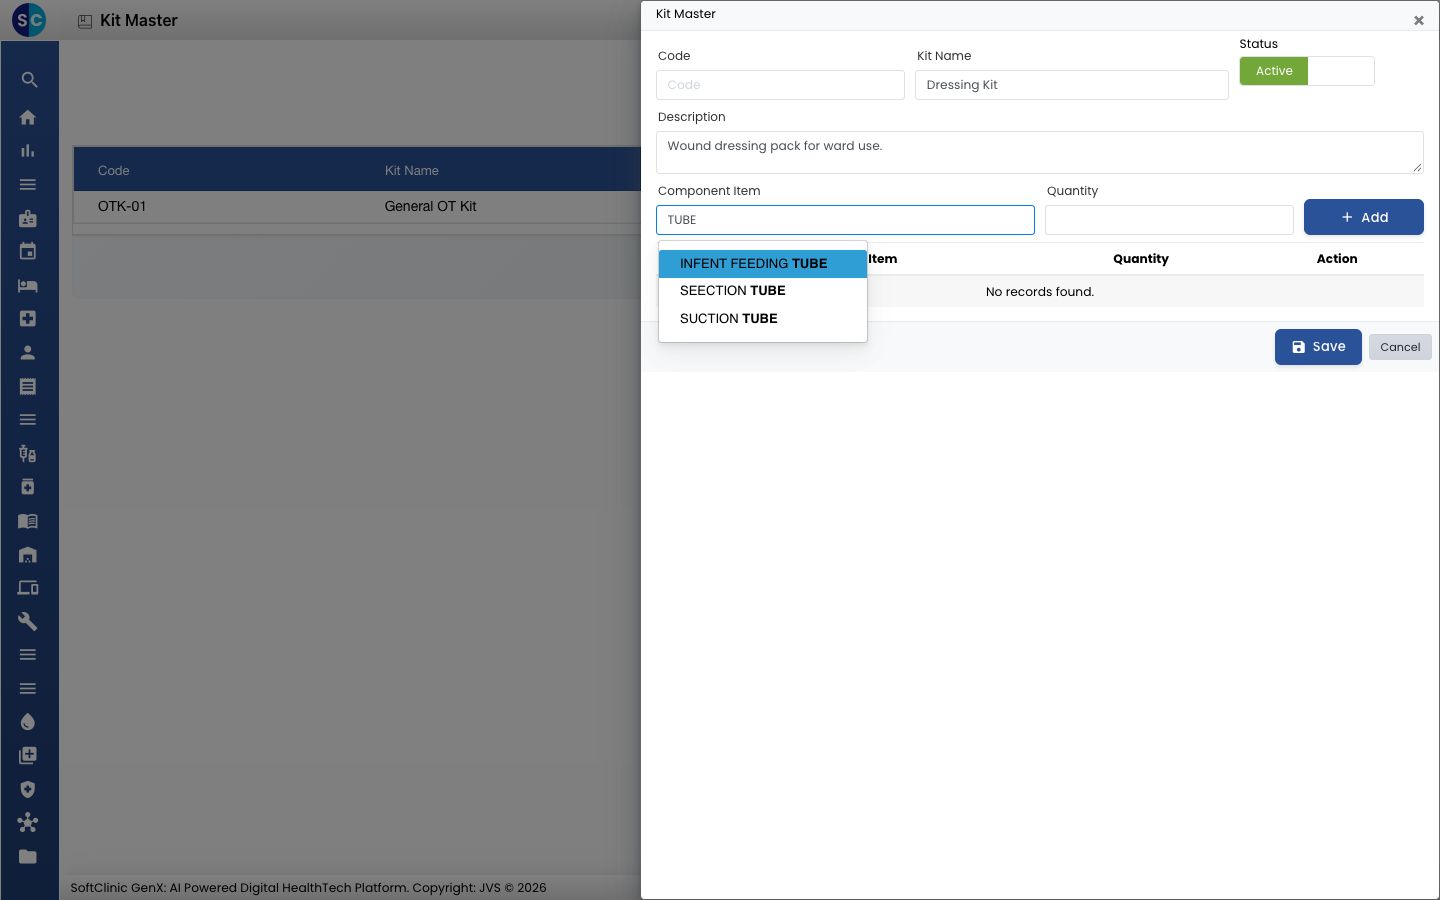
Field What to enter Required Code A short code for the kit, for example OTK-01. No Kit Name The name of the kit. Up to 100 characters. Yes Status Leave on Active. — Description What the kit is for. Up to 250 characters. No -
Add the items in the kit. For each one, type in Component Item and pick the item, enter the Quantity and click Add. The item appears in the table below.
-
To remove an item from the kit, click the bin icon on its row.
-
Click Save. The panel closes and the kit appears in the list.
Change, deactivate or delete a kit
- In the list, click ⋮ at the end of the kit's row and choose Edit.
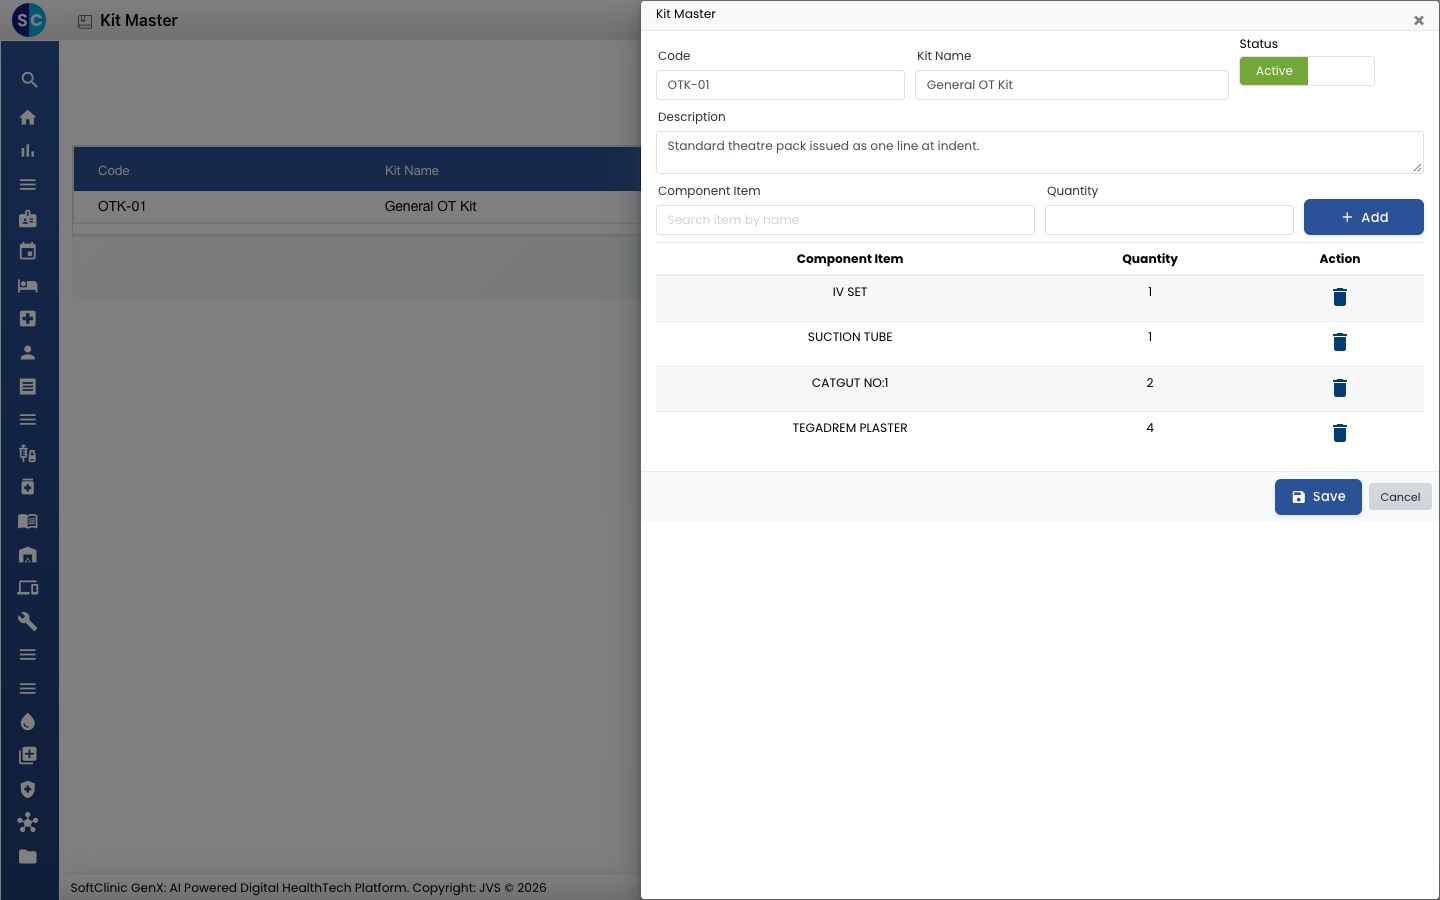
- Change the details or the items. To stop using the kit, switch Status to Inactive.
- Click Save.
To remove a kit you no longer need, click ⋮ and choose Delete.
Good to know
- A kit must have at least one item. Otherwise the panel shows "A kit must have at least one component item".
- Every item in the kit needs a quantity greater than zero.
- Pick the item from the list that appears as you type. Otherwise the panel shows "Select a component item".
- Click Cancel or × to close the panel without saving.