Set up Application Configurations
Set each facility's print layout, languages, date format, default address and the working rules for OPD, billing, IPD and inventory.
Who does this: hospital administrator Where: Configurations › Application Configurations Set up before: Facility
Application Configurations holds the everyday working rules of each facility: how bills and reports print, which languages and date format the screens use, the default country and city for new addresses, and how the out-patient, billing, in-patient and inventory screens behave. Settings are kept per facility, so pick the facility first on every tab.
How the screen works
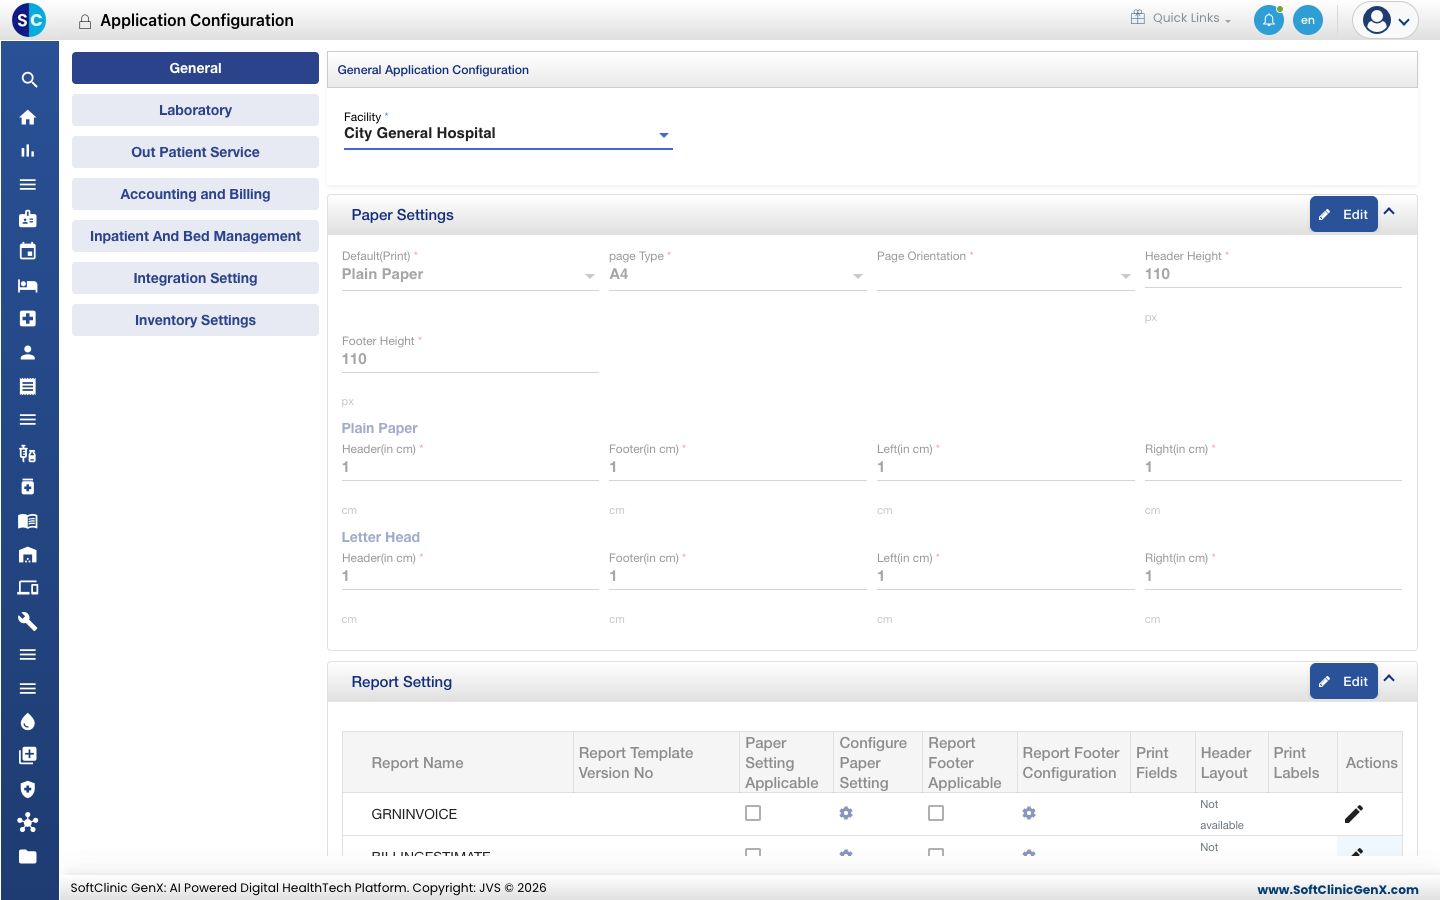
- The tabs on the left group the settings: General, Laboratory, Out Patient Service, Accounting and Billing, Inpatient And Bed Management, Integration Setting and Inventory Settings.
- Each tab starts with a Facility field. Choose the facility you are setting up before you change anything.
- Settings are shown in sections. A section is read-only until you click its Edit button. Change the values, then click Save in that section. Cancel drops your changes.
Set up the General tab
-
Go to Configurations › Application Configurations. The General tab opens.
-
Choose the Facility.
-
Work through the sections you need, clicking Edit and then Save in each one:
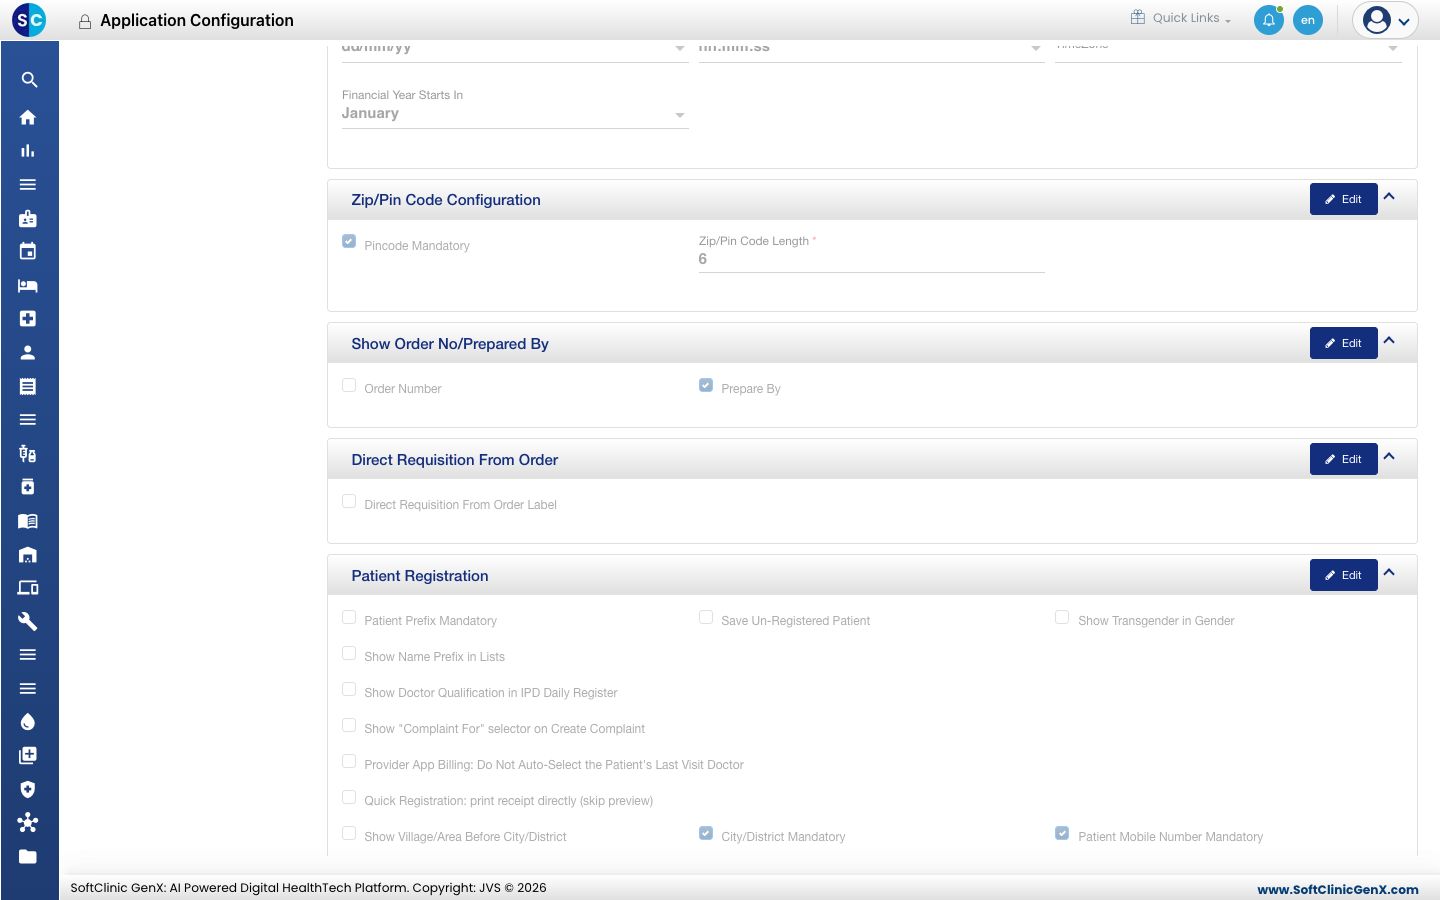
Section What it controls Paper Settings Whether prints use Plain Paper or Letter Head, the page type and orientation, and the header, footer and side margins for each. Report Setting One row per printed document (bill, lab report, prescription, sticker and so on): whether it uses the paper settings, the report footer, and which fields print. Click the pencil in the Actions column to change a row. Thermal Print Setting Page size, font size and margin for thermal (receipt) printers. Label Print Setting Printer type, label size, margins and the fields printed on patient labels and stickers. Application Language Details The primary language and an optional secondary language for data entry and screen labels. Application Default Location Details The country, state, city and district filled in by default on new patient and employee addresses, and the preferred language. Application Date & Time Format Date format, time format, time zone and the month your financial year starts in. Zip/Pin Code Configuration Whether the pin code is mandatory and how many digits it has. Show Order No/Prepared By Whether the order number and the name of the person who prepared it appear on prints. Direct Requisition From Order Sends tests ordered by the doctor straight to the laboratory or radiology queue. Patient Registration Registration rules such as a mandatory name prefix, mandatory mobile number and city, and showing transgender as a gender option. 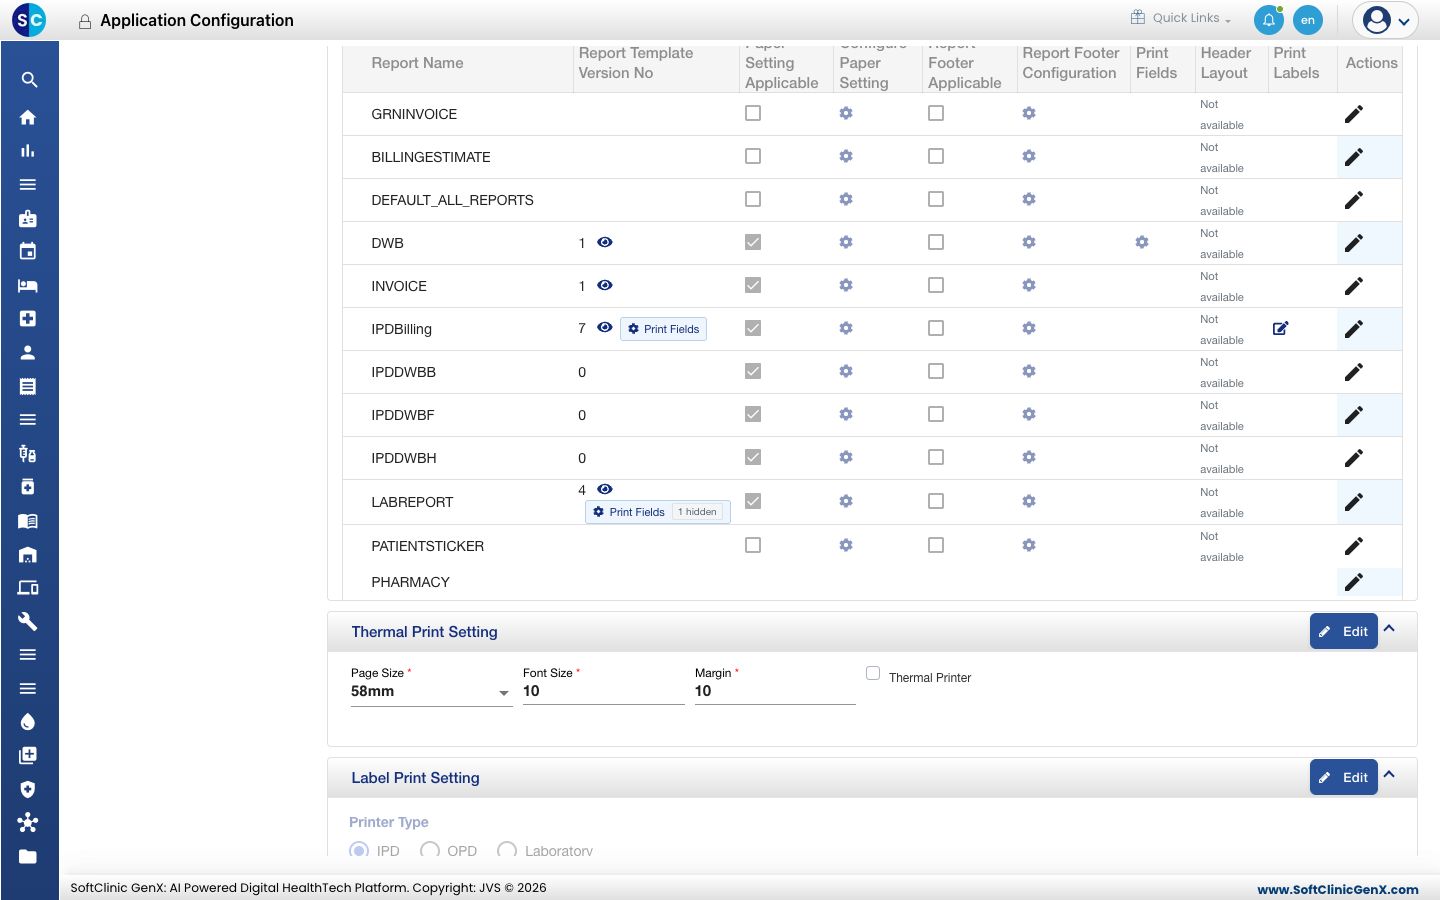
Set up the other tabs
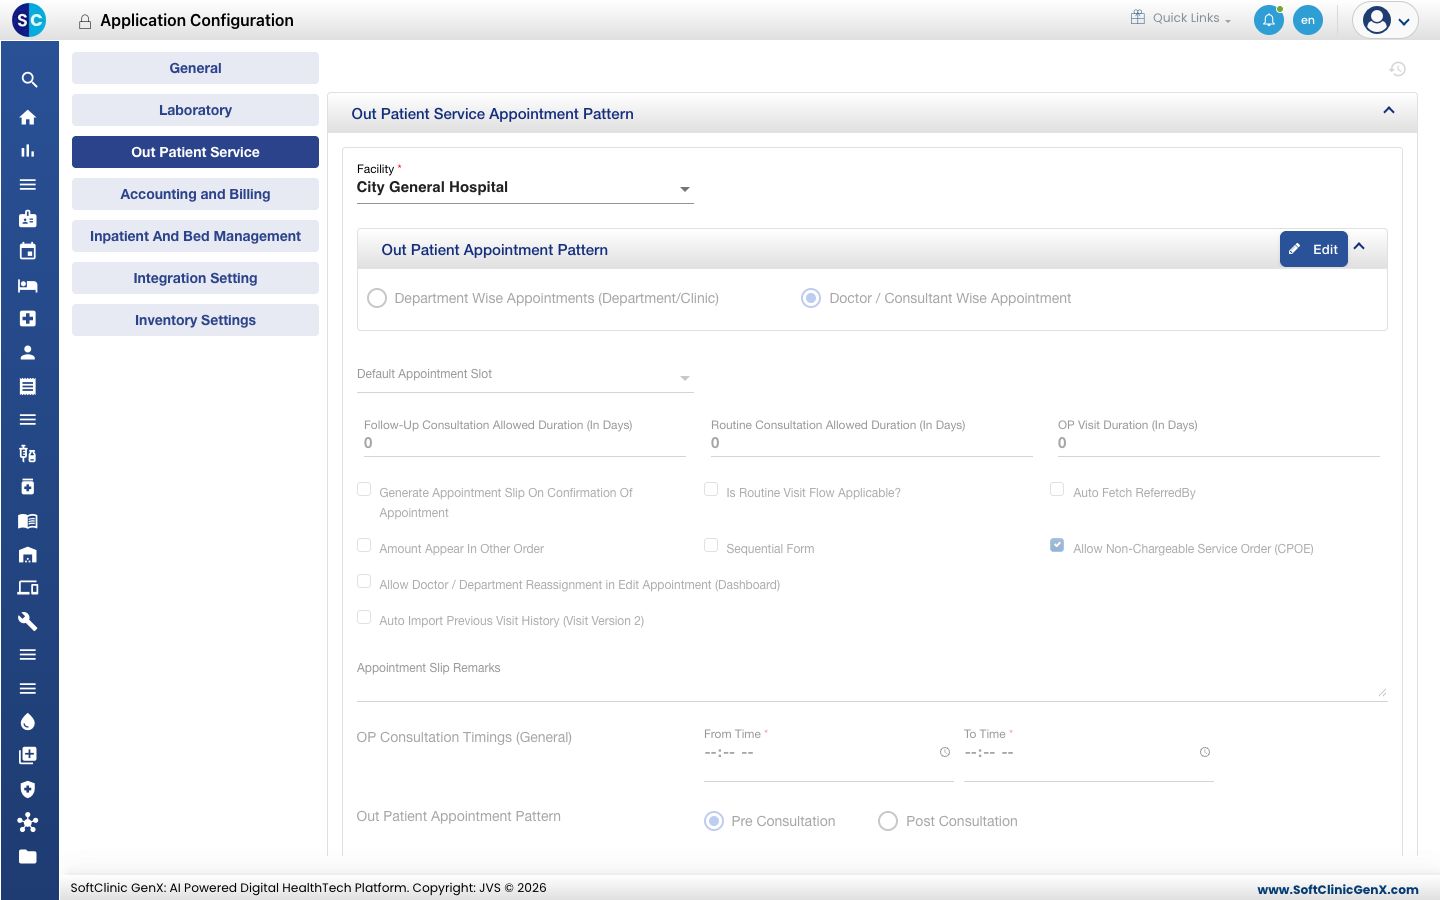
Choose the facility on each tab, click Edit on a section, change it and click Save.
| Tab | What you set there |
|---|---|
| Laboratory | Working rules for the laboratory, such as result entry, sample collection and how lab reports are paged and printed. This tab has one Save button. |
| Out Patient Service | Whether appointments are booked by department or by doctor, the default appointment slot, how many days a follow-up or routine visit stays free, OP consultation timings, and pre- or post-consultation billing. |
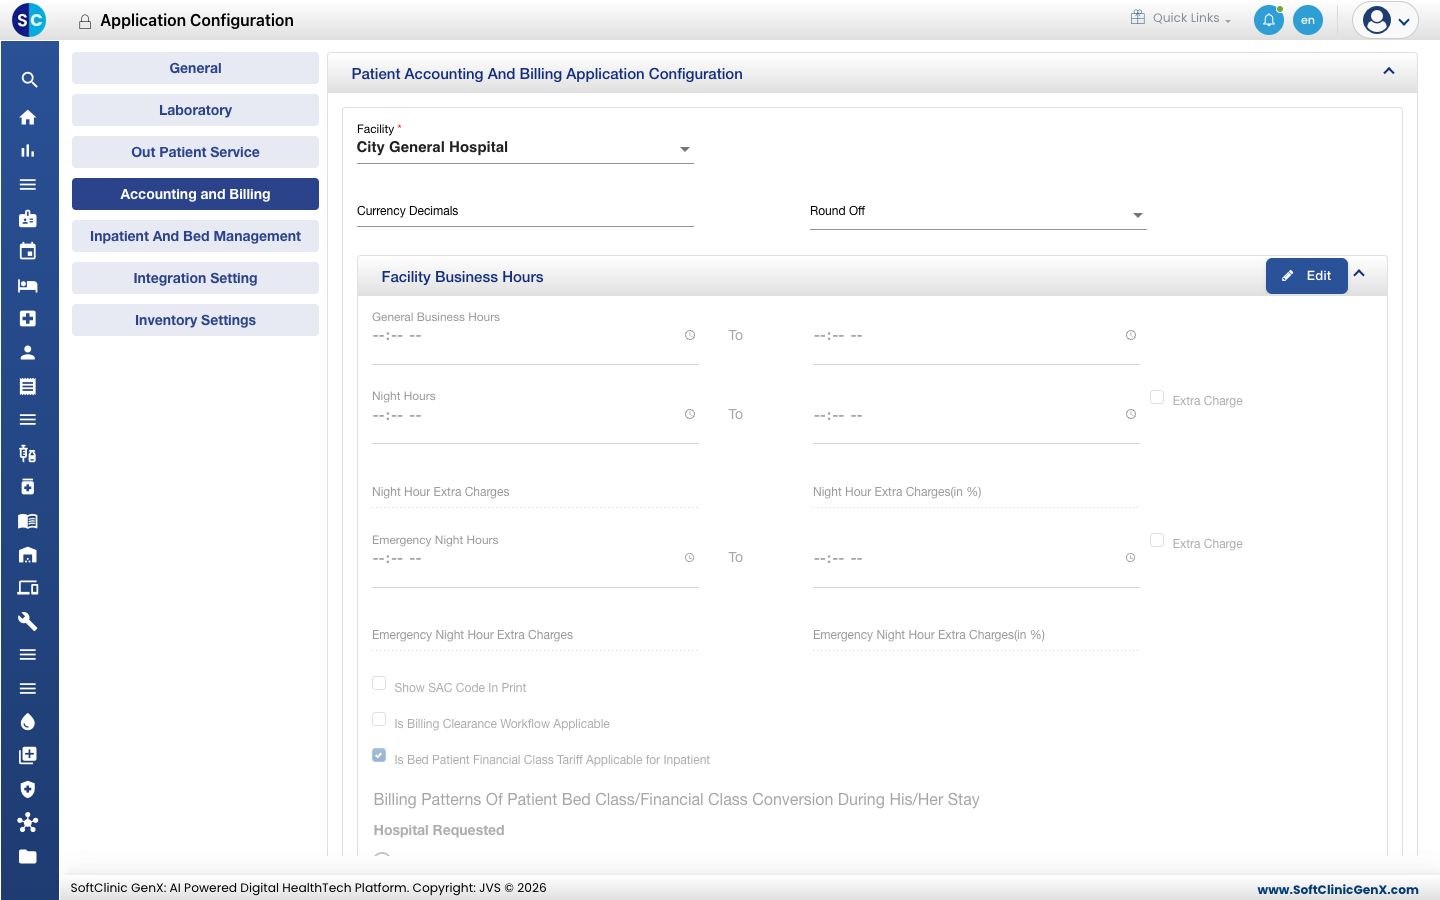
| Accounting and Billing | Currency decimals and round off, facility business hours with night and emergency extra charges, SAC code on prints, billing clearance, and bed-class tariff rules for in-patients. |
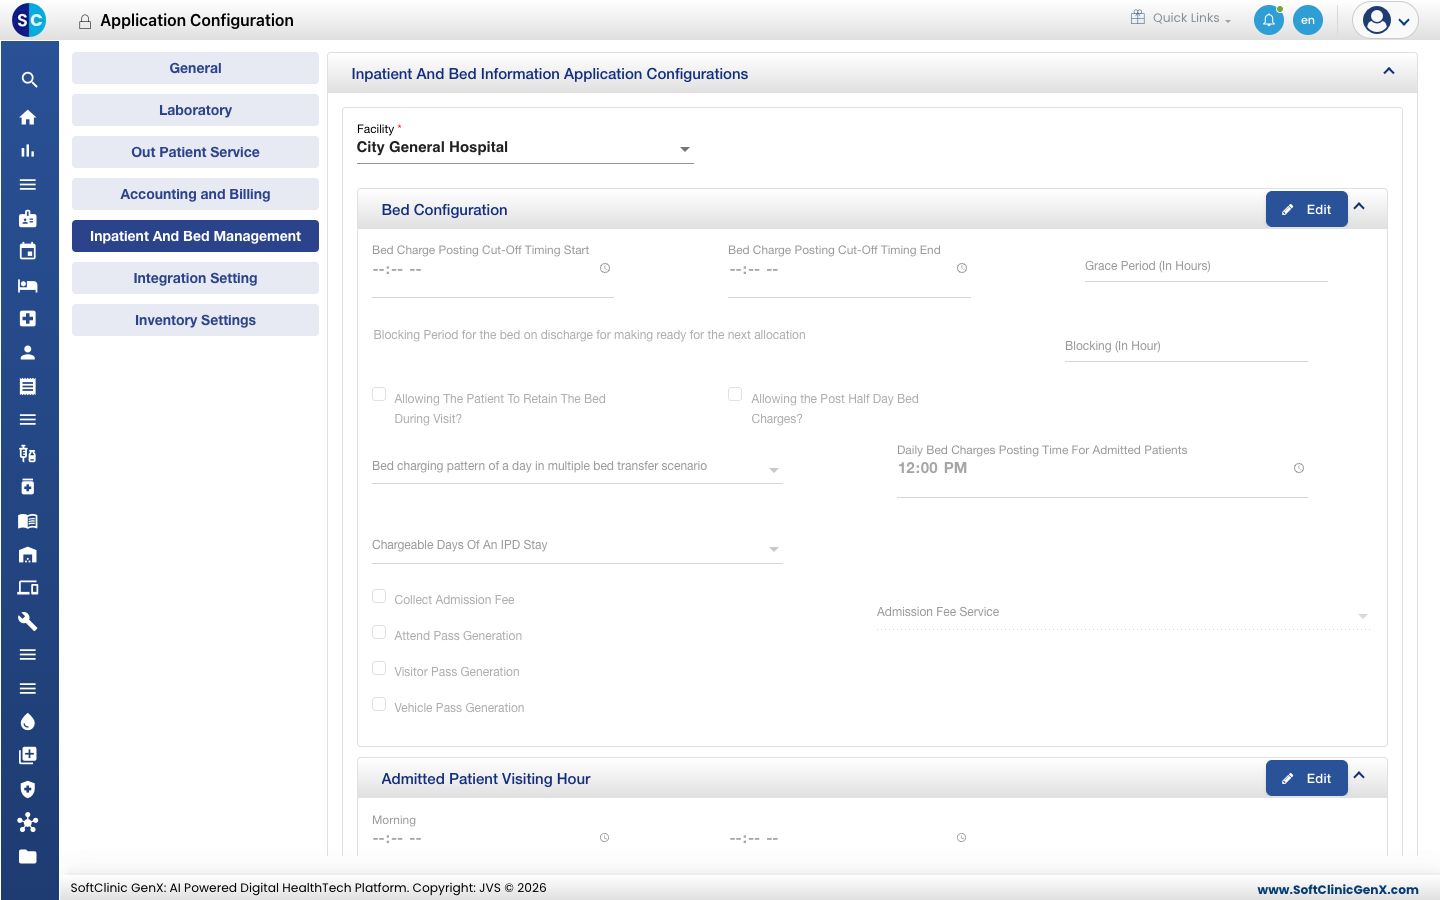
| Inpatient And Bed Management | Bed charge posting times, grace and blocking periods, retaining a bed, admission fee, visitor, attendant and vehicle passes, and visiting hours. |
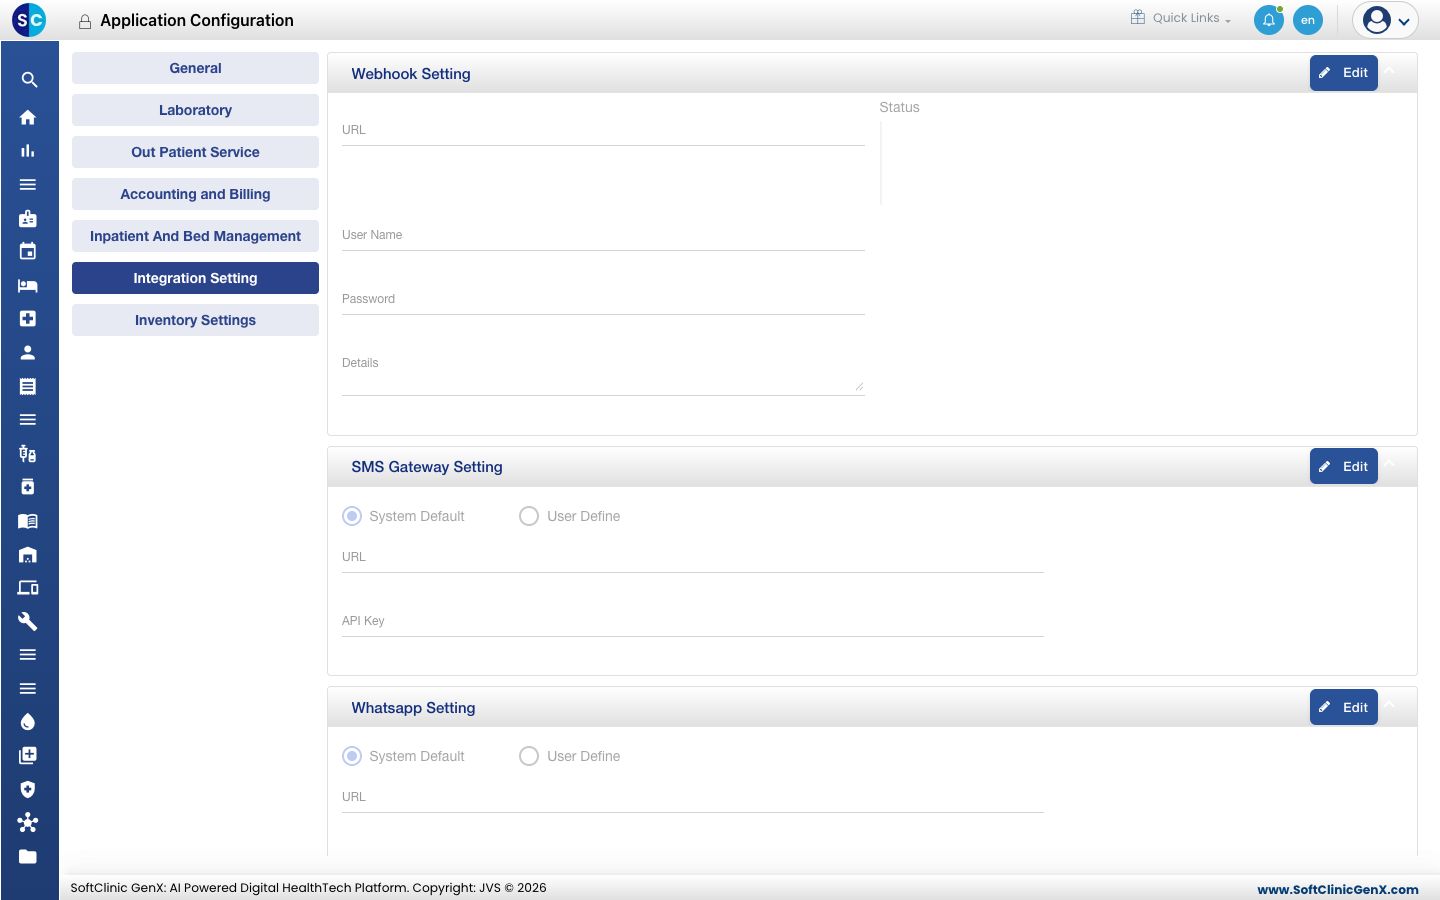
| Integration Setting | Webhook, SMS gateway, WhatsApp and email connection details. |
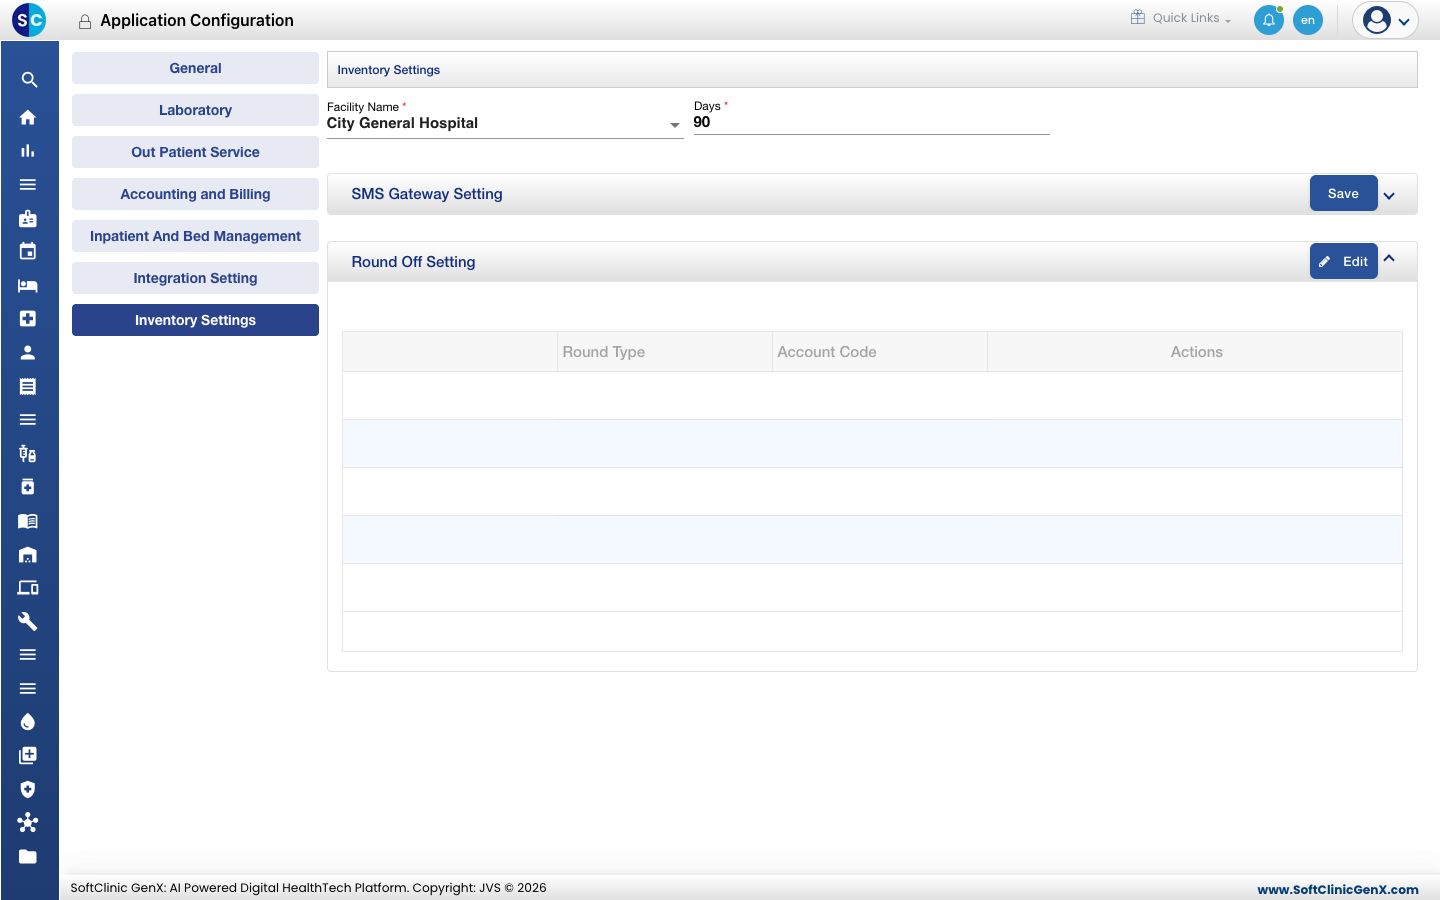
| Inventory Settings | The number of days used for stock alerts and the round-off setting for inventory accounts. |
Good to know
- Settings apply to the facility shown in the Facility field only. Repeat them for each facility.
- The connection details on Integration Setting (SMS gateway, WhatsApp, email, webhook) are set up with JVS support. Leave System Default selected unless support asks you to change it.
- A change applies to new work from the moment you save. Documents printed earlier are not changed.
- Fields marked with * are required before a section can be saved.